Jan 10, 2024
How to Make the Most of Darwin’s Natural Light in Your Video Shoots
Darwin’s tropical climate and stunning natural landscapes make it an exciting location for video shoots. However, filming in such conditions comes with unique challenges, particularly when dealing with the region’s intense sunlight, high humidity, and unpredictable weather. Understanding how to harness Darwin’s natural light will not only help you create beautifully lit footage but also allow you to work effectively in its tropical environment. In this guide, we’ll explore essential tips for capturing high-quality video in Darwin’s natural light, including the best times of day to shoot, lighting techniques, and ways to manage brightness and humidity.
The Best Times of Day to Shoot in Darwin’s Tropical Climate
In a tropical environment like Darwin, the time of day has a huge impact on the quality of your video footage. Due to the intense sunlight and the way it interacts with the landscape, knowing when to shoot can make or break your project.
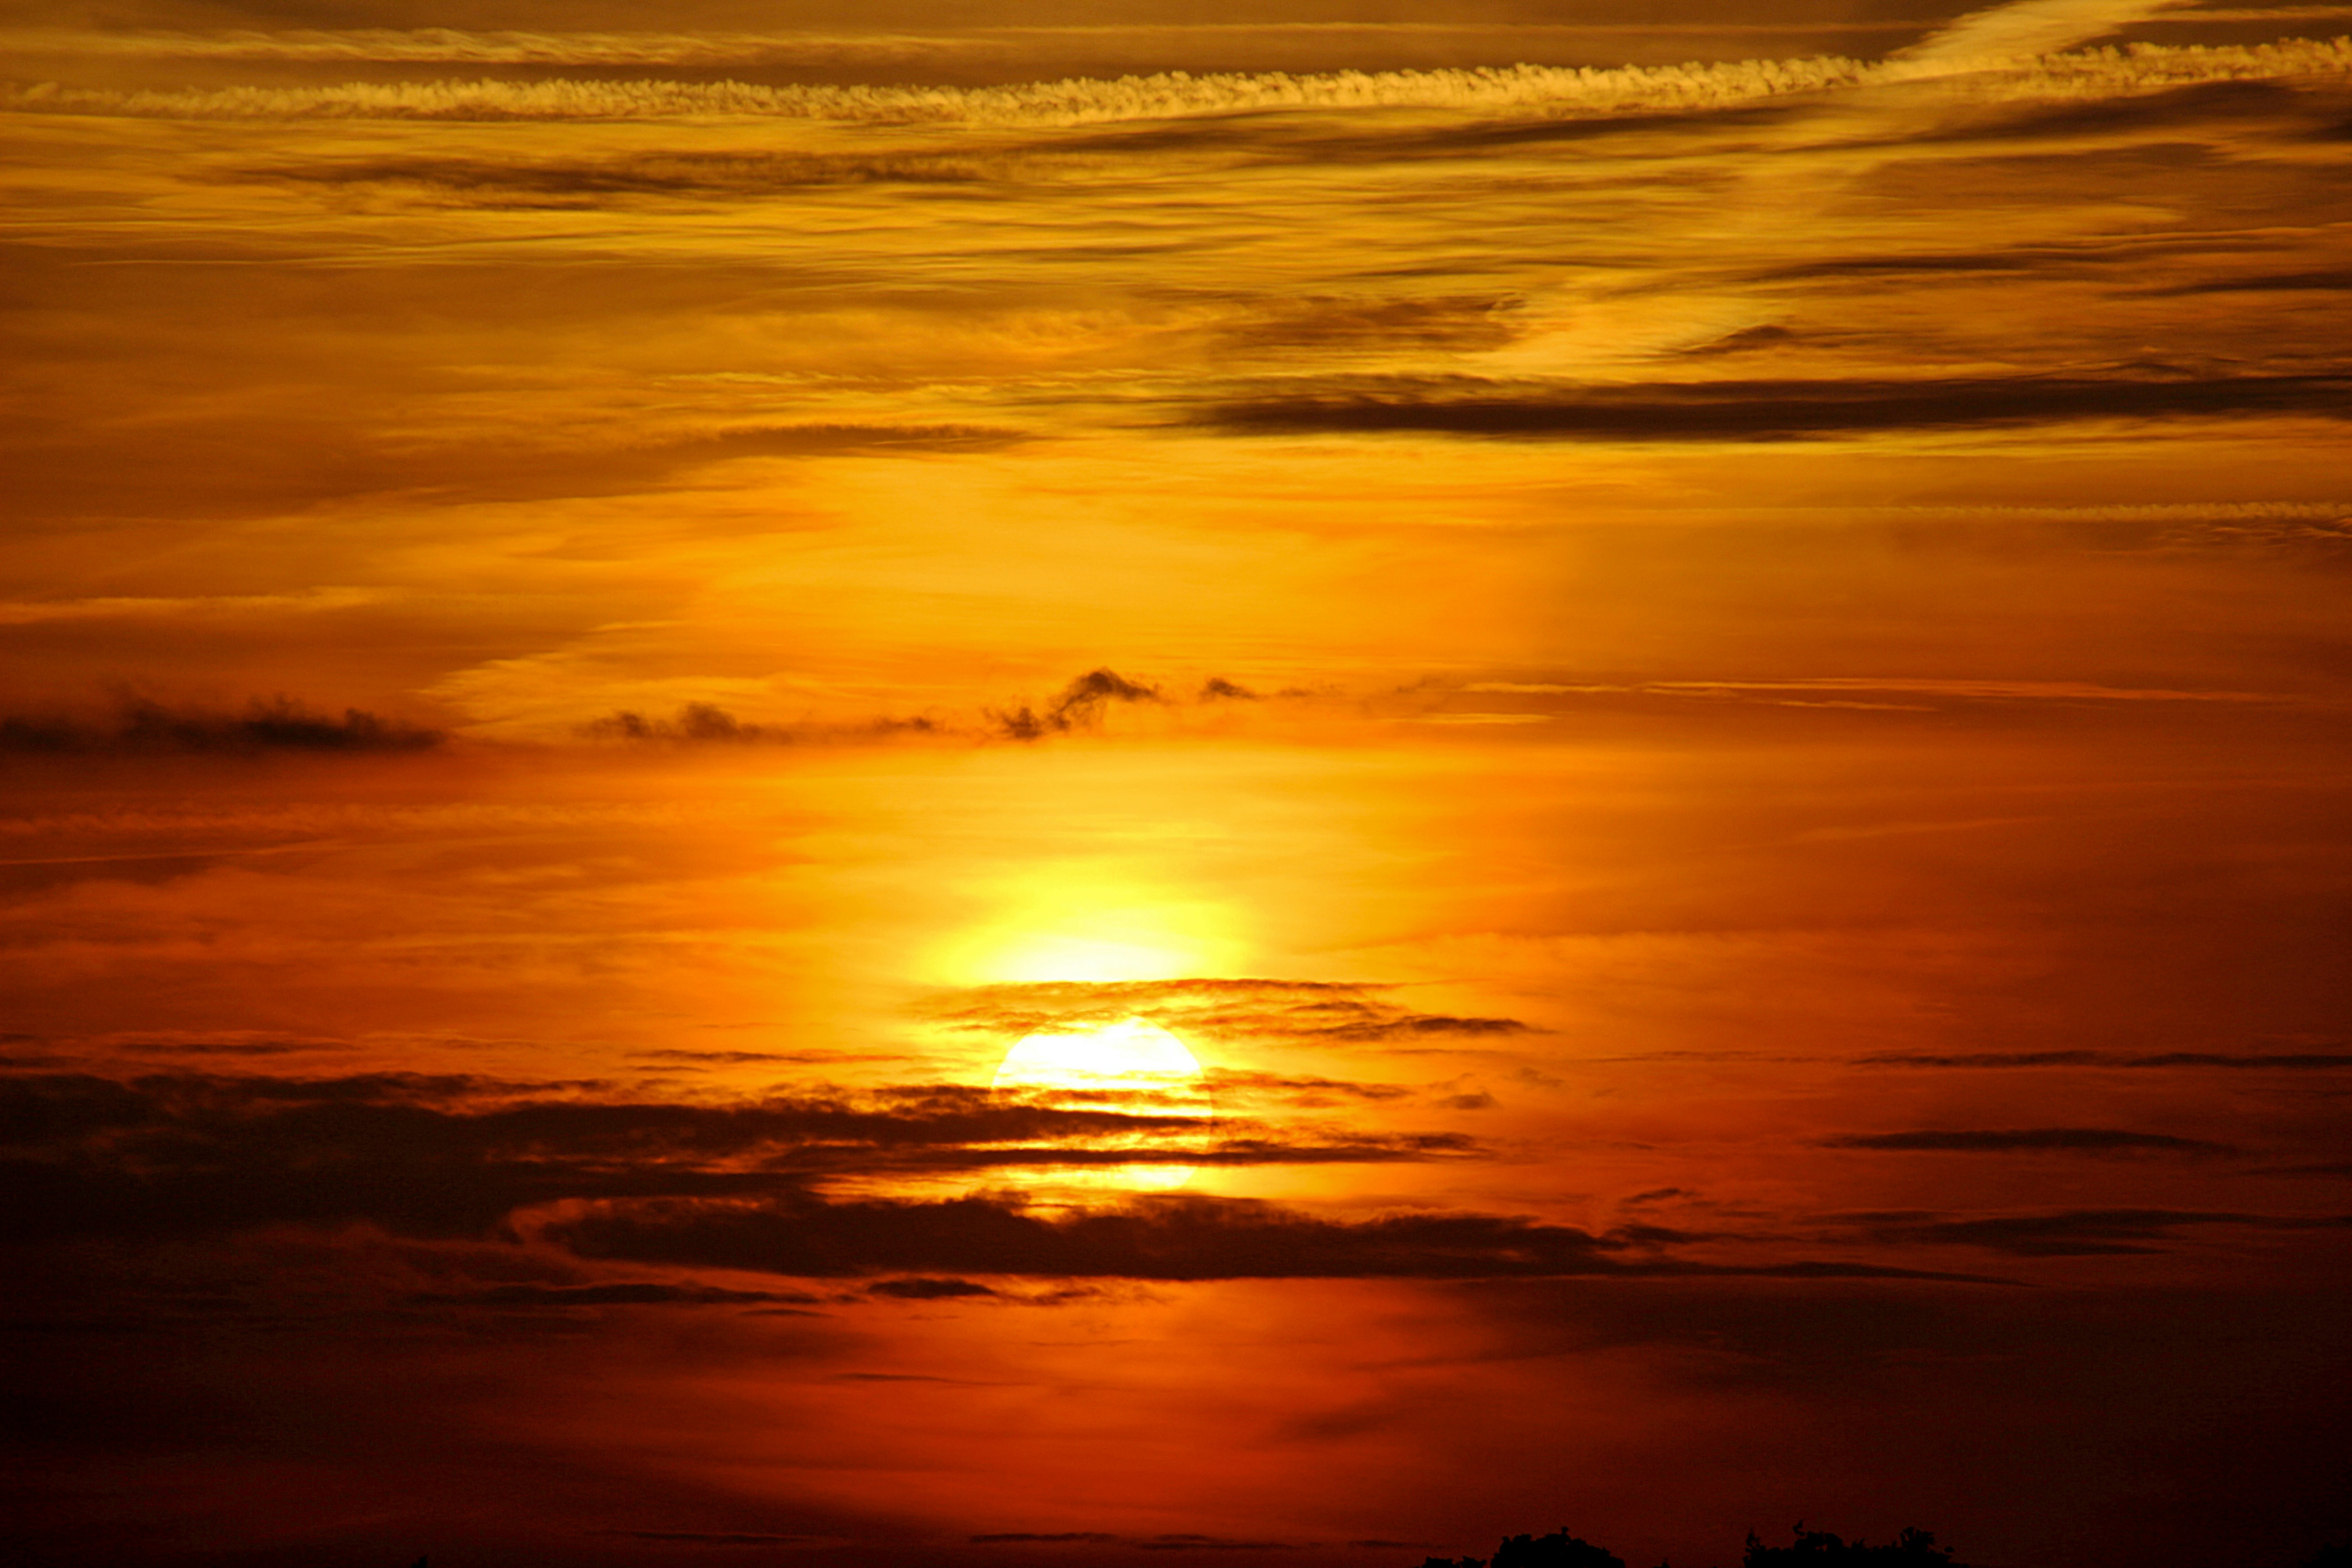
The golden hour—shortly after sunrise and just before sunset—is ideal for video shoots. During these times, the sun is low in the sky, producing soft, warm light that creates beautiful, natural tones without harsh shadows. This is perfect for capturing people, landscapes, and architecture under flattering light. The golden hour also brings out the rich colours of Darwin’s natural surroundings, enhancing the tropical foliage and vibrant sunsets.
Filming early in the morning is another great option. The light is softer, and the temperature is cooler, which helps both your crew and equipment handle the heat. Morning light can give your footage a fresh, crisp look, perfect for creating calm, serene scenes, whether in nature or urban settings.
Lighting Techniques for Filming Under Darwin’s Sun
Filming under Darwin’s tropical sun requires careful planning and specific techniques to manage the strong sunlight effectively. If you’re shooting during the middle of the day, when the sun is at its highest, the light can be harsh, causing overexposure and unflattering shadows on your subjects.
One technique is to use diffusion panels or reflectors to soften the direct sunlight. A diffusion panel acts as a light filter, scattering the sun’s rays and reducing harsh contrasts, making the light appear more balanced and flattering. Reflectors can be used to bounce sunlight onto your subject, providing a softer, more even fill light.
If shooting indoors or in shaded areas, natural sunlight can still be your best friend. Position your subjects near windows or openings where the sunlight streams through, creating natural highlights without the intensity of direct sunlight. For added control, use ND (neutral density) filters on your camera to reduce the amount of light hitting the sensor, which helps prevent overexposed footage.
Managing Bright Sunlight and Avoiding Overexposure
Darwin’s bright sunlight can easily lead to overexposure in your video, especially when shooting in wide-open areas such as beaches or parks. To avoid this, it’s essential to adjust your camera settings accordingly.
First, ensure that your camera’s ISO is set to the lowest possible value, as higher ISO levels can increase the brightness and lead to washed-out footage. Next, control your aperture settings to achieve a balance between brightness and depth of field. A smaller aperture (higher f-stop number) can reduce the light entering the lens, helping to control exposure while maintaining focus on your subject.
If possible, try to incorporate shadows and shaded areas into your composition to avoid filming entirely under direct sunlight. Positioning your subjects in shaded locations—like under trees or buildings—helps reduce the harshness of the sunlight, resulting in smoother, more even lighting across the scene.
